Integrate NSX-T with VMware Identity Manager (vIDM)
 NSX-T 2.0 was released a couple of weeks ago, and among the new features in the release notes, one caught my attention:
**RBAC and vIDM integration ** With this release, there are six roles for RBAC. Users can be assigned any of the six roles. NSX is also integrated with VMware Identity Manager to provide a unified user information for all VMware products.
NSX-T have two built-in users: admin and audit. To expand authentication capabilities, you can integrate NSX-T with VMware Identity Manager (vIDM) and configure Role-Based Access Control (RBAC) for users that vIDM manages.
How-to Integrate NSX-T with vIDM?
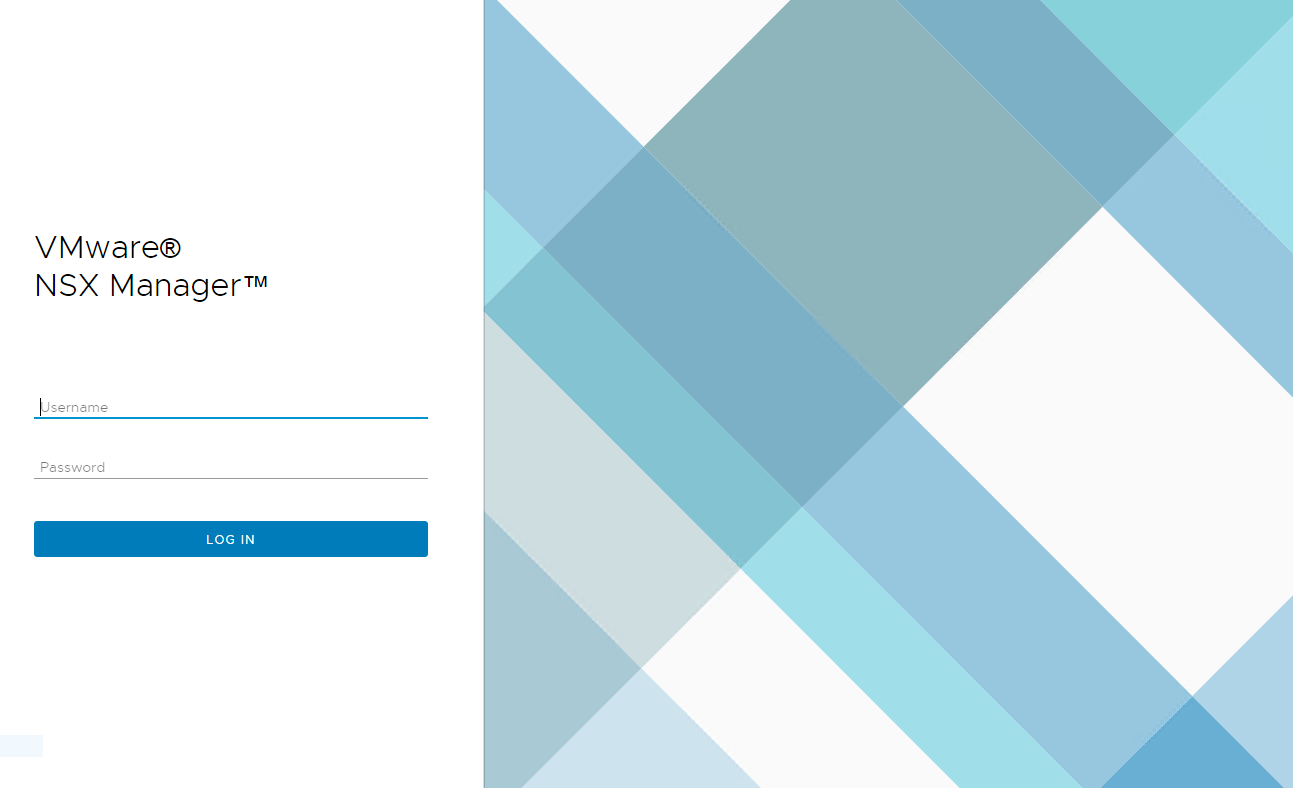
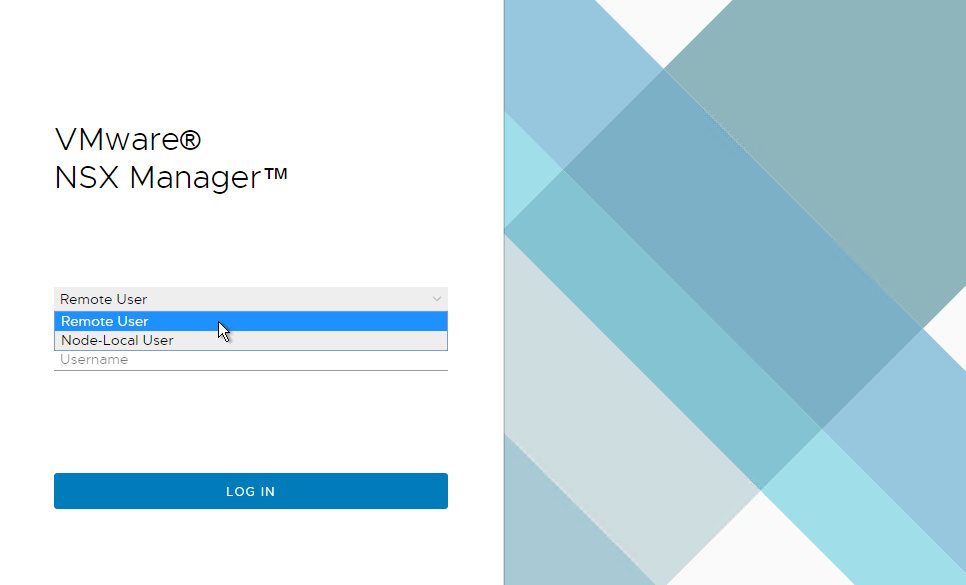
By default, NSX-T 2.0 login screen looks like this; quite familiar, no? You might have seen the same screen in other products such as vRealize Operations or Log Insight.
Before starting, let’s have a look to prerequisites:
-
vIDM deployed and configured: well, that seems obvious but I thought I could clarify it again :)
-
Certificate thumbprint from the vIDM host - Check the documentation to see how to obtain it
-
NSX Manager registered as an OAuth client to the vIDM host
The 3rd item is a bit more complex, so I’ll explain further:
-
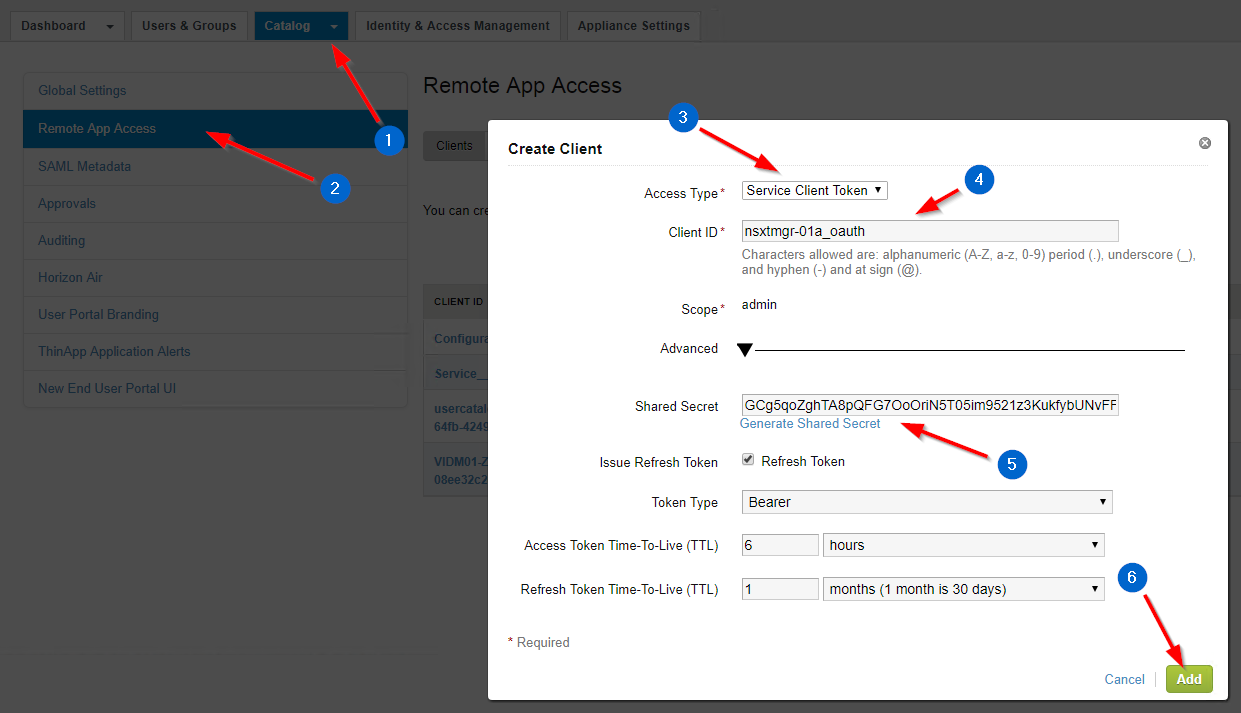
In vIDM > Catalog > Settings > Remote App Access, click the Create Client button.
-
Change the Access Type to Service Client Token.
-
Enter the Client ID of your choice.
-
In Advanced, click on Generate Shared Secret.
-
Click Add.
Now that your NSX-T Manager is registered as an OAuth client in Identity Manager, follow the steps below to finish the integration.
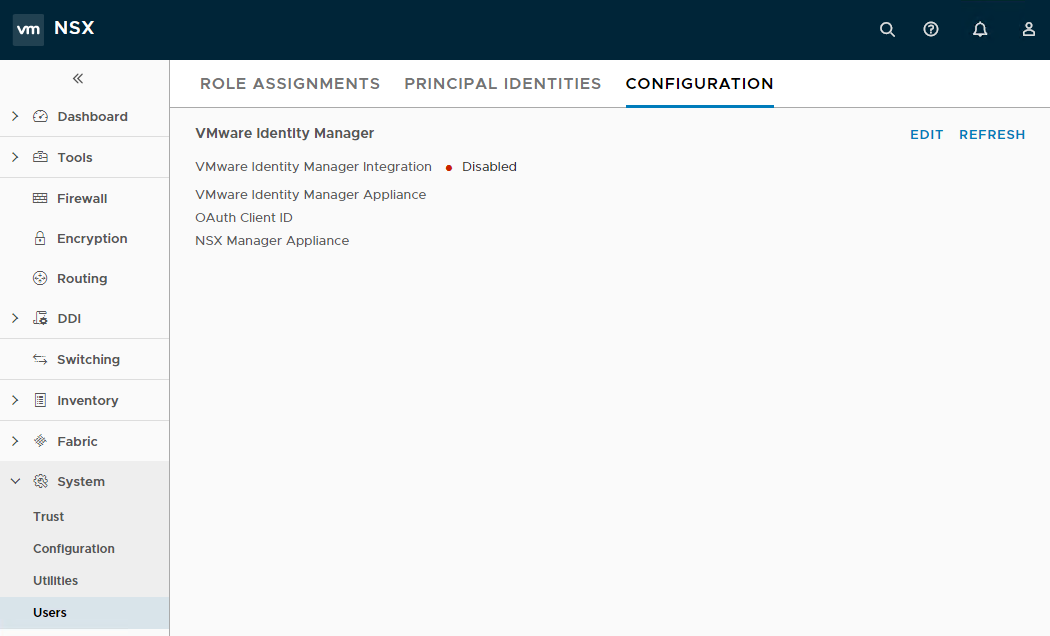
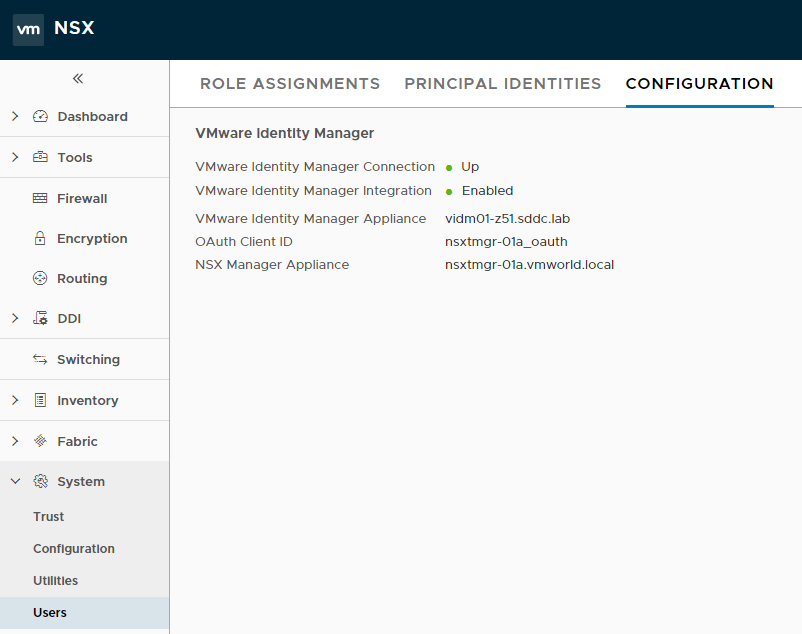
Log in to your NSX Manager, navigate to System > Users > Configuration and click Edit.
Provide the following information:
-
vIDM FQDN
-
OAuth Client ID
-
OAuth Client Secret
-
vIDM SHA-256 Thumbprint
-
FQDN of your NSX-T Manager
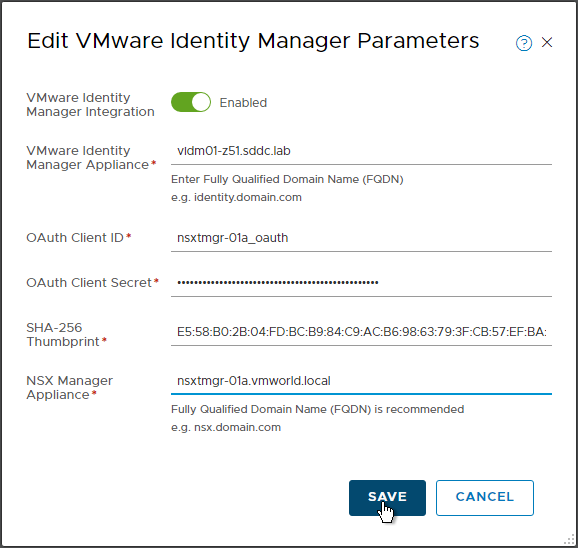
After saving the parameters, my connection to vIDM is up and running. :)
To confirm that the vIDM integration is enabled, logout and note the login screen has changed: you can know switch between Remote User and Node-Local User.
Note: the next logical step is to add users, or to integrate your enterprise directory to vIDM to sync users and groups. However, I will not describe this step as it’s not the topic of this article. My Active Directory is already integrated, and I will continue from there.
With Role-Based Access Control (RBAC), you can restrict system access to authorized users. Users are assigned roles and each role has specific permissions. The four types of permissions are: Full access, Execute (includes the read permission), Read and None.
NSX-T has the 6 following built-in roles (you cannot add any new roles).
-
Enterprise Administrator
-
Auditor
-
Network Engineer
-
Network Operations
-
Security Engineer
-
Security Operations
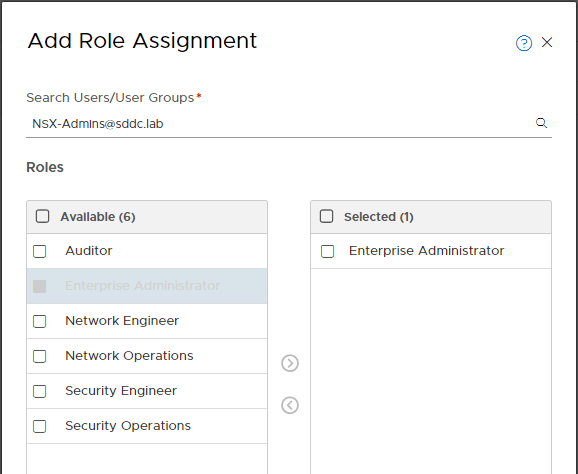
You can add, change, and delete role assignments to users or user groups when Identity Manager is integrated with NSX-T. Navigate to System > Users > Role Assignments to add, change or delete role assignments to users or groups. In the example below, I’m assigning the NSX-Admins group the Enterprise Administrator role.
Considerations:
-
For authentication to work correctly, NSX Manager, vIDM and other service providers such as Active Directory must all be time synchronized.
-
For users managed by vIDM, the authentication policy that applies is the one configured by the vIDM administrator, and not NSX-T’s authentication policy, which applies to users admin and audit only.
-
With a default vIDM deployment, users require First Name, Last Name and email configured in Active Directory, otherwise vIDM will not sync them. You can manage which attributes are required.
-
To understand which permissions each role has for different operations, please refer to the documentation.
Resources: